
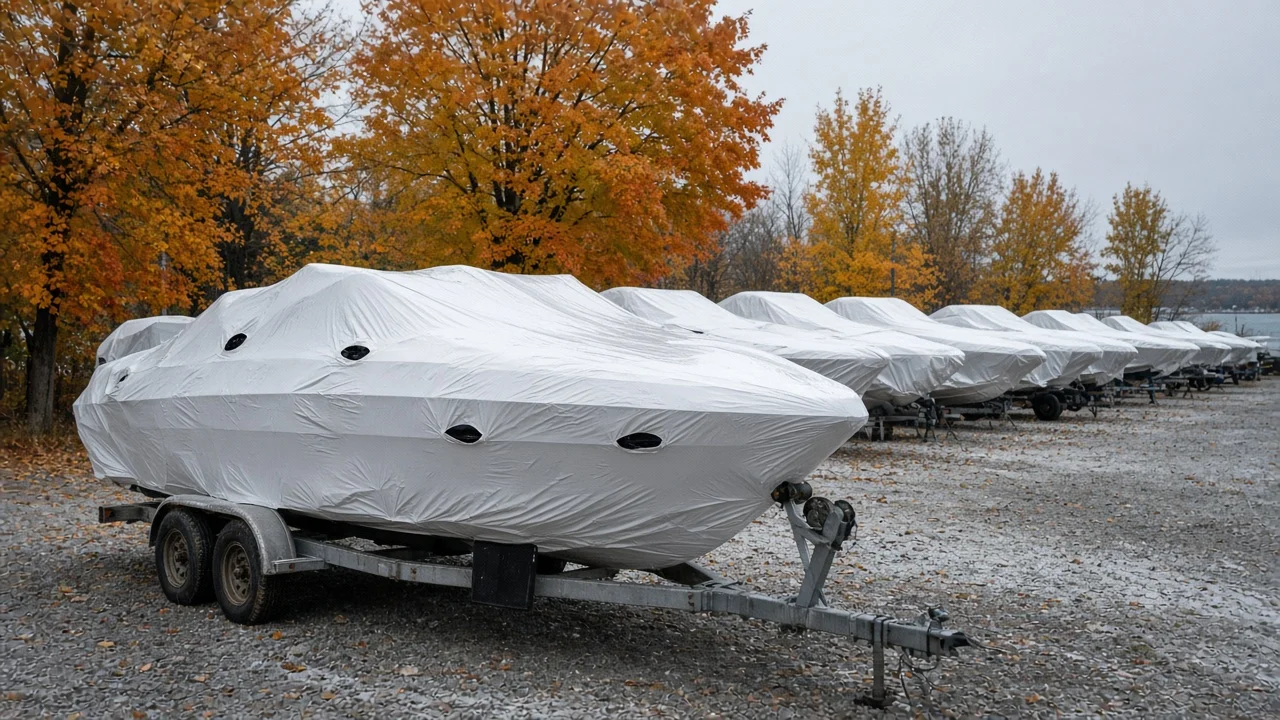
The leaves are turning, the docks are coming out and the first frosty mornings have arrived. For Canadian boaters, that means one job stands between this season and the next: winterizing. A few hours of careful work in the fall protects your engine, plumbing and hull from months of freezing temperatures, and it makes spring launch a lot less stressful. This guide walks you through why winterizing matters, a step-by-step checklist by engine type, how to look after onboard water systems and batteries, your storage and cover options, and when it makes sense to call a professional.
Golden rule: your owner’s manual comes first. Engine makers publish specific winterizing procedures, and the steps below are a general guide, not a replacement for them.
Why winterizing matters in Canada
Water expands as it freezes. Any water left trapped in an engine block, manifold, outdrive, pump, hose or water heater can crack it, and that kind of damage often isn’t discovered until the boat is back in the water in spring. Across most of Canada, boats sit through months of sub-zero temperatures, so skipping or rushing winterization is one of the most expensive mistakes an owner can make.
Freezing isn’t the only threat. Untreated fuel oxidizes over the winter and can leave gummy deposits in the fuel system, which is especially hard on carburetted engines. Mercury Marine notes that stale fuel causes most of the issues its dealers run into. Moisture inside the engine can cause corrosion, batteries can freeze if they’re left discharged, and a poorly covered boat can collect snow, rainwater and mildew.
When to winterize
The right time is after your last outing and before the first hard freeze where you keep the boat. In much of the country that window closes quickly in the fall, and marinas and service shops get busy, so it pays to plan ahead and book haul-out or service slots early.
Your winterizing supply list
Exact supplies depend on your engine, but Mercury Marine’s winterizing list is a good starting point for most outboard owners:
Marine fuel stabilizer and, ideally, fresh fuel
Engine oil and oil filter (four-strokes)
Fuel filter, plus spark plugs only if they’re due under your engine’s service schedule
Fogging oil or whichever storage product your engine maker specifies (Mercury, for example, calls for DFI oil on direct-injected two-strokes)
Gear lube and a gear lube pump
Marine grease and a grease gun
Rust inhibitor spray
Flushing muffs and a garden hose
A prop wrench, funnel, basic hand tools and a waste oil container
Marine/RV propylene glycol antifreeze, rated for the lowest temperatures you expect, if your boat has an inboard, sterndrive or onboard water systems
Step-by-step: winterising an outboard
Outboards are usually the simplest engines to winterize yourself. Because an outboard’s cooling passages normally drain on their own when the motor is tilted down, the focus is on fuel, oil and corrosion protection.
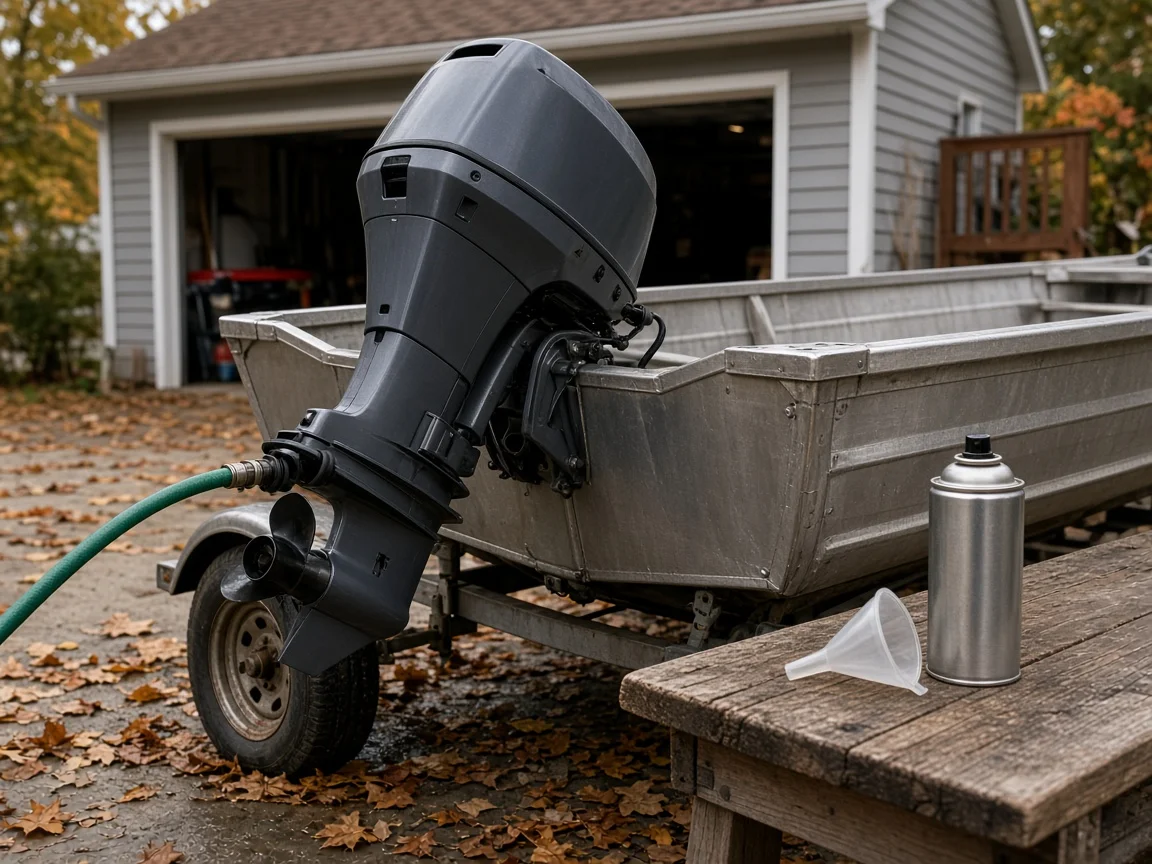
Treat the fuel. Store the boat with fresh fuel treated with the correct dose of marine fuel stabilizer. Mercury suggests running the tank nearly empty at season’s end and then adding fresh, treated fuel. If the fuel left in your tank is old or suspect, assess it before deciding what to do: age alone doesn’t make fuel unusable, but storage conditions, ethanol content, water or other contamination and poor fuel quality can. If it’s stale or contaminated, have it pumped out and replaced.
Follow your maker’s guidance on tank level. There’s no single fill level that suits every boat. The right amount depends on the tank design, the fuel (especially ethanol-blended gasoline) and the storage instructions from your engine and fuel-system manufacturers. Mercury, for example, suggests filling older vented tanks to about 95 percent to limit condensation while leaving room for expansion, but check what applies to your boat.
Run the engine. Run it for about 10 minutes, in the water or on flushing muffs with a good water supply, so stabilized fuel reaches the whole fuel system. Never run an outboard without cooling water.
Change the oil and filters. On four-strokes, change the engine oil and filter, then replace the fuel filter.
Protect the cylinders as your maker specifies. Fogging isn’t a universal step. Many modern EFI and direct-injected engines have their own storage procedures, and some call for oil introduced at a particular point or a specific lubrication method. Fog only where your engine manufacturer specifies it, and use the method for your model. On engines that call for it, that often means spraying fogging oil into each cylinder through the spark plug holes while the motor is still warm. Mercury says direct fuel injected two-strokes take DFI outboard oil instead of fogging oil, and Yamaha uses an EFI fogging oil for most of its modern fuel-injected four-strokes.
Change the gear lube. Drain the lower unit and refill it with fresh lubricant. Milky or creamy old oil can mean water is getting past a seal, so have it checked before spring.
Grease and protect. Grease the fittings on the tilt and trim, steering and other lube points, inspect the anodes, and spray rust inhibitor on the exterior.
Check the prop. Remove the propeller, inspect it for damage, grease the prop shaft and reinstall or store the prop indoors.
Store it tilted down. Leave the motor in the down position so any remaining water can drain from the cooling passages.
Inboards and stern-drives need extra care
Inboard and stern-drive (I/O) engines use one of two cooling layouts. Raw-water-cooled engines draw lake or sea water through the block and exhaust manifolds. Closed-cooled (freshwater-cooled) engines circulate coolant through the block, while raw water passes through a heat exchanger and the exhaust system. Either way, the raw-water circuit won’t drain by itself and has to be winterized. This is where freeze damage most often happens, so follow your manufacturer’s procedure closely or have a marine technician do it.
The cooling system
If your manual calls for it, bring the engine to operating temperature on a flusher so the thermostat opens and treated fuel circulates. Warming the engine up doesn’t by itself guarantee that every cooling passage is drained or protected.
Follow your manual’s draining or antifreeze procedure exactly. Depending on the engine, that means draining the block, manifolds and raw-water pump through their drain plugs, filling the raw-water side with antifreeze, or both. Seeing pink antifreeze at the exhaust doesn’t prove every passage is protected: thermostats, bypass circuits and leftover water that dilutes the antifreeze can leave areas vulnerable. Where antifreeze is used, check its concentration and freeze protection at the points your manual specifies.
Older engines can have drains partly blocked by rust flakes. Probe each drain with a pipe cleaner or wire and watch until the last of the water runs out.
On closed-cooled engines, also check the coolant level and concentration for freeze protection. The raw-water side still needs winterizing.
The outdrive
Trim the drive all the way down and keep it straight so water drains and snowmelt can’t collect in the exhaust hub.
Change the gear lube and look for signs of water in the old oil.
Inspect the bellows, water intake hose and gaskets. Cracked bellows are a common source of leaks.
Grease the gimbal bearing and U-joints as your service schedule calls for.
Never use automotive antifreeze for winterizing a boat’s raw-water side or plumbing. Car coolant is usually ethylene glycol, which is highly toxic. Use marine/RV propylene glycol winterizing antifreeze, usually pink, that’s rated for the lowest temperatures you expect and labelled for the job, whether that’s engines, drinking-water systems or both. Read the label closely: the headline number on many jugs is a burst-protection rating, which isn’t the same as the temperature at which the product starts to freeze. Antifreeze also loses protection as it mixes with water left in the system, so use it at the strength the label directs and verify its protection after any dilution.
Onboard water systems, heads and livewells
If your boat has a galley, shower, head or livewell, each of those systems can hold water that will freeze. Work through them one at a time:
Freshwater system: drain the tank and lines, bypass the water heater so it doesn’t fill with antifreeze, then run propylene glycol antifreeze through the pump and every hot and cold faucet until it flows pink. Don’t run antifreeze through water filters.
Water heater: drain it completely. A bypass kit means you need far less antifreeze.
Head and holding tank: pump out the holding tank at an approved pump-out station, then winterize the head and sanitation lines as your manual directs.
Livewells and washdown pumps: drain them or run antifreeze through them.
Generators and air conditioning: follow their own manuals.
Dispose of old oil, fuel and used antifreeze responsibly. Even “non-toxic” antifreeze should never be dumped into a lake, river or storm drain. Most marinas and many municipal depots accept used oil and fluids.
Batteries, electronics and the interior
A fully charged battery resists freezing, while a discharged lead-acid battery can freeze and crack. You have two good options:
Take them home: store batteries in a cool, dry place and keep them on a smart marine charger, or check and top them up as often as the battery maker recommends. The right interval depends on the battery’s chemistry (flooded, AGM, gel or lithium) and its condition.
Leave them aboard: make sure the terminals are clean and tight, turn the battery switch off to avoid small drains, and either keep them on a marine charger or check and recharge them on the schedule the manufacturer sets for that battery type.
Remove electronics you can easily unplug, along with life jackets, cushions, food and anything that can hold moisture. Clean and dry the interior, prop open lockers and hatches for airflow, and consider a moisture absorber to keep mildew at bay. Pull the drain plug on a trailered boat and keep it somewhere you’ll remember, ideally tied to the steering wheel or ignition key.
Storage and cover options
Where your boat spends the winter matters as much as how it’s prepared. Here’s how the common options compare:
Option | Best for | Things to know |
|---|---|---|
Indoor heated storage | Higher-value boats and owners who want the most protection | Usually the most expensive option and space fills up early |
Indoor cold storage | Protection from snow, sun and wind without heating | The boat still needs full winterizing |
Outdoor at a marina | Larger boats that are hauled out and blocked or cradled | Needs a good cover; check the marina’s rules on covers and access |
Outdoor at home | Trailered boats | Check municipal or condo rules; level the trailer and support the tongue |
Shrink wrap or a canvas cover?
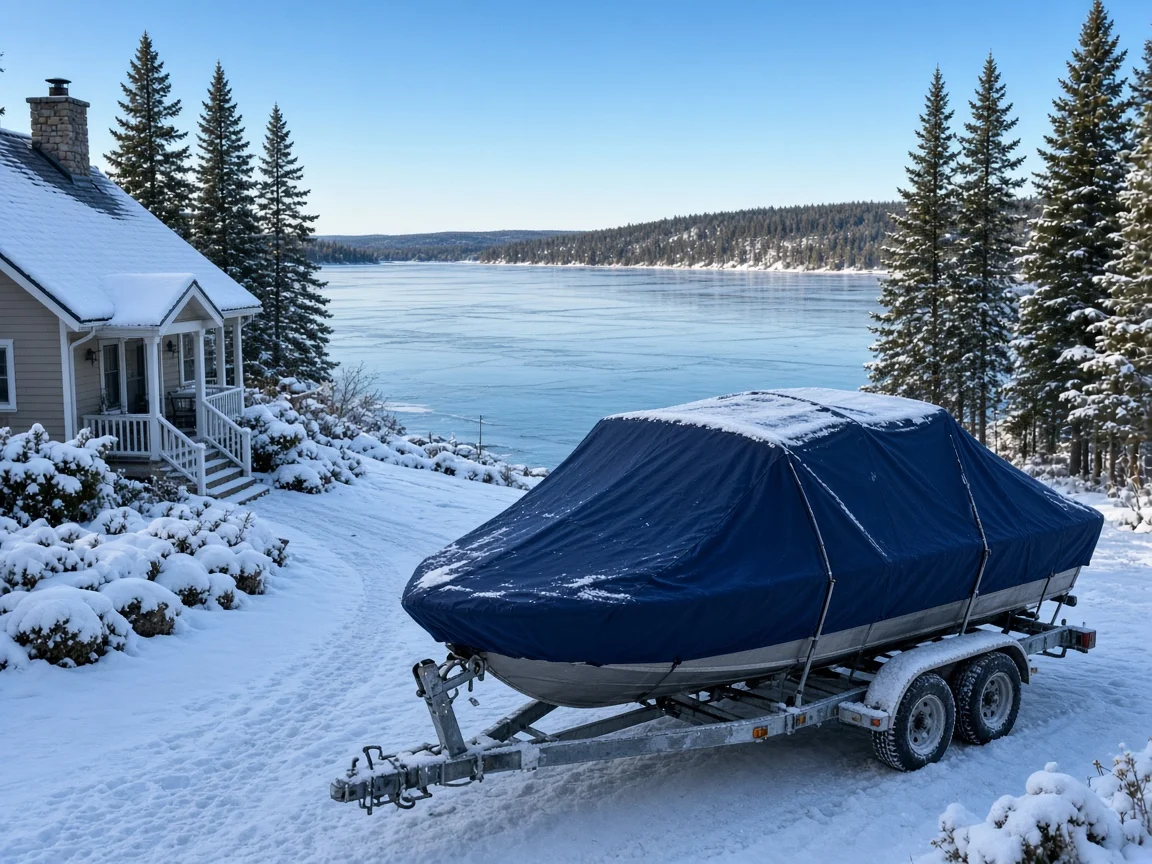
A custom-fit canvas or synthetic cover costs more up front but is reusable for many seasons. How well it ventilates depends on the cover material and how it’s installed, so use the vents your cover maker provides and avoid sealing it tight. Whatever you choose, make sure it’s supported by a frame or poles so snow and water can’t pool and stretch or tear the cover.
DIY or professional winterising?
Many owners of small outboard boats winterise their own boats with a few basic tools and an afternoon. If you’re comfortable changing oil and you follow the manual, it’s a satisfying job. Inboards, stern drives and boats with full plumbing systems are more involved, and a mistake can lead to a cracked block or manifold. If you’re unsure, a certified marine technician is money well spent. Some insurers and extended warranties also expect the work to be done correctly, so it’s worth keeping receipts and checking your policy for any lay-up or storage requirements.
Need a hand? Browse the Vessel Star marine services directory to find mechanics, detailers and storage providers near you, or look up a marina that offers haul-out and winter storage.
A quick winterizing checklist
Assess old fuel, stabilise fresh fuel and run the engine to circulate it
Change engine oil, filters and lower unit gear lube
Fog or otherwise protect the engine internals only as your engine maker specifies
Drain and/or antifreeze the raw-water cooling on inboards and stern-drives per the manual, and verify freeze protection
Winterise freshwater, sanitation, livewell and washdown systems
Charge and store batteries as their maker recommends for that battery type
Clean, dry and empty the interior
Grease fittings, check the prop and anodes
Cover and store the boat with good support and ventilation
Frequently asked questions
Can I use regular car antifreeze in my boat?
No. Automotive antifreeze is usually ethylene glycol and is highly toxic. Use propylene glycol winterizing antifreeze made for marine and RV systems, rated for the temperatures you expect and the system you’re protecting.
Do outboards need antifreeze?
Usually not. Outboards are designed to drain their cooling water when tilted down. The key steps are treating the fuel, changing the oil and gear lube, and protecting the engine internals the way your manufacturer specifies, which may or may not mean fogging. Always check your manual for your specific model.
What does milky gear oil mean?
Milky or creamy gear lube usually means water has got into the lower unit, often through a worn seal. Water left in the gearcase can freeze and cause damage, so have it inspected before the next season.
Is shrink wrap better than a cover?
Both work well when done right. Shrink wrap gives a tight, snow-shedding seal but is single-use plastic. A fitted canvas cover is reusable, and how well it breathes depends on its material and fit. Ventilation and good support matter most with either option.
Ready for next season?
A well-winterized boat gives you a head start when the ice comes off, but it still needs spring recommissioning before launch: follow your manual’s recommissioning steps, inspect hoses, belts, bellows and the fuel system, and check that your required safety equipment is aboard and in good condition. And if this is the winter you decide to upgrade, now is a great time to start looking. Browse boats for sale across Canada, check out pontoon boats or fishing boats, or connect with dealers and brokers. Planning to sell? List your boat for free on Vessel Star and reach buyers who are already planning their spring.
Manufacturer references
Procedures vary by engine brand and model, so check the guidance for your own engine. These are the manufacturer and boating-association resources this guide draws on: